Growing chilli plants from seed...
- paddywakeham
- Jan 21, 2021
- 6 min read
Updated: Jan 31, 2021
A fun way to get a crop of your favourite hot peppers, and a great way to learn how to grow plants...
Chilli peppers are one of my favourite things to grow and they were actually the first plants I learned how to start off from seed...I would even go as far as to say that they were the plant that got me interested in Horticulture and Plant Science!
Chillies don't require a lot of experience so they are the ideal beginner plant to grow - They do however require a lot of sunlight and heat, therefore are best suited to growing in a conservatory, greenhouse, polytunnel or failing that, a sunny windowsill.
In this blog I'm going to take you through how to sow chilli seeds now, for a crop of fiery fruit from as early as mid summer onwards! I've included some "educational" terms to inform/bore you and may ramble incoherently at points, but I hope you can get through it and hopefully it will inspire you to grow your own!
Equipment


Luckily the setup to get chilli seeds going is relatively inexpensive and low tech - it consists of:
A container to hold your growing media (seed trays, paper pots etc.)
Growing media (i.e. compost)
Chilli seeds (your favourite variety)
Labels
A watering device of some description
A heated propagator (if you are serious...)
It helps to have a heated propagator, which you can buy online or in most garden centres, but failing that, a warm windowsill near a radiator will work, as long as you have a lid of some sort for your seed tray - a clear plastic bag will even do the trick...Chilli seeds require 21 degrees C for germination.
Seeds
One of the great things about growing your own chilli peppers is the number of varieties that are available in the form of seed (There are around 4,000 varieties from 5 species!) You can find some interesting varieties including super hots here: https://www.southdevonchillifarm.co.uk/online-shop/chilli-seeds/
Get named varieties from a good seed company and make sure they are in date - You can save seed from supermarket peppers but these will not grow "true to type." (This is exactly how I started, with no horticultural experience and I grew some crazy plants...I saved seed each year for about 3 years running and every year the growth habits and fruit characteristics changed! It did get me interested in plant genetics though).

This year I have 5 different varieties (so far) to sow...
Growing media
This is basically the stuff you sow your seeds into - It's main job is to hold onto moisture and keep the seed in place until germination (sprouting) occurs...commonly just good old compost is used, but there are many alternatives on the market. Make sure to use peat free if you want to be sustainable! This year I have just used some organic garden compost which I had in the shed, but I usually get specific seed compost as it has a finer "texture" more suited to seed germination.

I'm using general purpose compost this year as it's just what I have to hand, but I usually use a seed compost
Method - It's time to get started!
Now you have all the equipment and materials ready, it's now time to start off your very own chilli plants!!!
In the UK it is best to start Chilli plants off early so that they have a long enough growing season to mature and produce fruits - I usually get mine going before January is out, but some varieties will be ok started as late as March, check the back of the seed packets for sowing times.
So...now that you are ready to begin, I have numbered all the steps required to grow healthy, happy seedlings that will grow on to flower prolifically and thus produce an abundance of spicy peppers! I'll discuss each point in more detail further on.
Fill your chosen container with growing media (compost)
Remove your seeds from the packet and place onto the compost
Gently push the seeds just below the surface - About 5mm depth
Label (very important!)
Water
Place in growing position and keep watered
Wait patiently (Germination takes anywhere from 5 to 21 days)
Once germination has occurred ventilate to prevent "Damping off"
Transplant seedlings to individual pots once large enough to handle
Grow on keeping watered and feed once flowers appear
Containers
There is a whole myriad of pots, trays and modules commercially available for starting off seeds - Have a look online or in your local garden centre.
Use any container suitable for holding the compost and seeds securely and make sure it fits in your propagator if using, or make your own pots from newspaper, toilet roll tubes, empty yoghurt pots etc. Recycle and avoid single use plastic where possible - A note on this, I believe there is nothing wrong with plastic if it is re-used and doesn't end up in landfill! (Single use is the enemy)
Sowing
You can sow single seeds in individual modules, or sow many seeds in a tray spaced about a centimetre apart - These will then be separated out and transplanted to larger pots once they have sprouted.
You can either push seeds below the surface with a toothpick, or gently squash the compost down a bit, sow the seed, then sprinkle more on top - Just avoid compressing all the air out of the growth media! *Look out for a later blog on soil science where I will try and explain some boring concepts like soil moisture deficit, air filled porosity, field capacity, cation exchange capacity etc. blah blah yawn - Well I find it interesting!*
Once sown, write the name of chilli and the date sown on a label - Very important if you want to know which plant is which later on...Otherwise you will have "mystery plants".
Watering
Water in gently to avoid washing the seeds away! Use a spray bottle or some sort of fine sprinkler like a watering can rose (the bit with the little holes in on a watering can...that's what its called). Use rain water if you collect it or tap water is just fine. It's an idea to let the water get up to room temperature if it is cold, as the seeds won't like that.
Germinating
Once the growing media is sufficiently saturated - Well, technically not saturated as you need some air in there, but you get what I mean hopefully* soil science blog will explain*. Anyway, once the seeds have been watered, place the lid on the propagator/seed tray and close the vents if the lid has them. Plug in the heat mat if you are using a heated propagator and keep an eye on the temperature - You want a minimum of 21 degrees centigrade. Keep the lid on as much as possible to create a humid environment and don't let the compost dry out as this is a sure way to kill seedlings! If your lid is tight fitting they shouldn't require much, if any water until germination.
Transplanting
So, after one to three weeks of patiently waiting, eagerly peering into the propagator willing your seeds to sprout, there will be a moment of sheer joy; when the first signs of life are visible, a welcome sign after the long dark days...A metaphor for new beginnings?
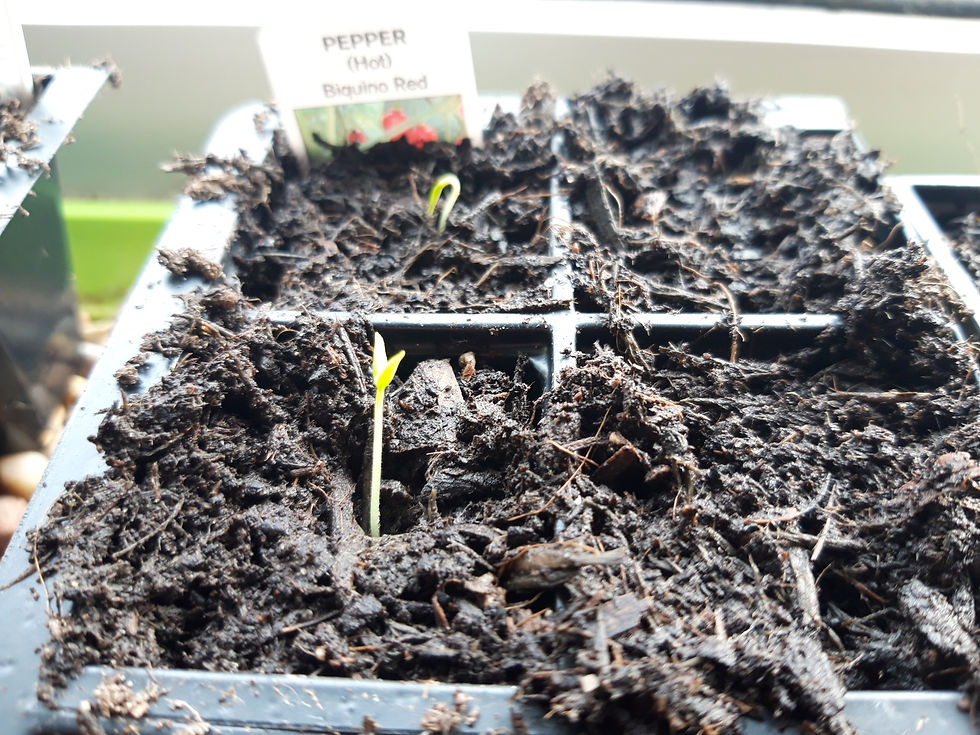
Not a great photo, but the U shaped hypocotyl visible at the back, and the seed leaves or cotyledons at the front
Anyway - You should be able to see what is known in the plant science world as the "hypocotyl" which is basically the tiny stem poking out of the compost in an upside-down "u" shape! A day or two later the seed leaves will emerge - the "cotyledons". It is important to never damage a seedling hypocotyl and only handle the cotyledons when transplanting.
Your seedlings will be ready to transplant once large enough to handle and I sometimes wait for the first "true leaves" to be visible before doing this. Prepare individual pots/grow bags for your mini chillies to grow up in, using a general purpose potting compost ideally mixed with some sand, grit or vermiculite for drainage. Carefully transplant and gently firm into the new compost making sure the roots are covered and water in. I also plan to do a more in depth blog on transplanting seedlings once my own plants are ready, so watch this space!
Aftercare
Grow on in your chosen location and keep well watered. Once flowers appear feed twice weekly with half strength tomato food - Many, many are available - I use organic if I can get it. You can increase feeding to weekly as fruit appears.
I often tap the flowers as this helps pollination and encourages fruit to "set". Chilli plants are "Hermaphrodite" which means the flowers are both male and female so they readily self pollinate.
Keep an eye out for pests such as whitefly, aphids and control as appropriate - I avoid spraying, so I resort to washing or brushing pests off as they appear...Time consuming but better that harmful pesticides in my opinion.
In my experience chilli plants are usually disease free, but aphids can spread viruses so keep on top of them.
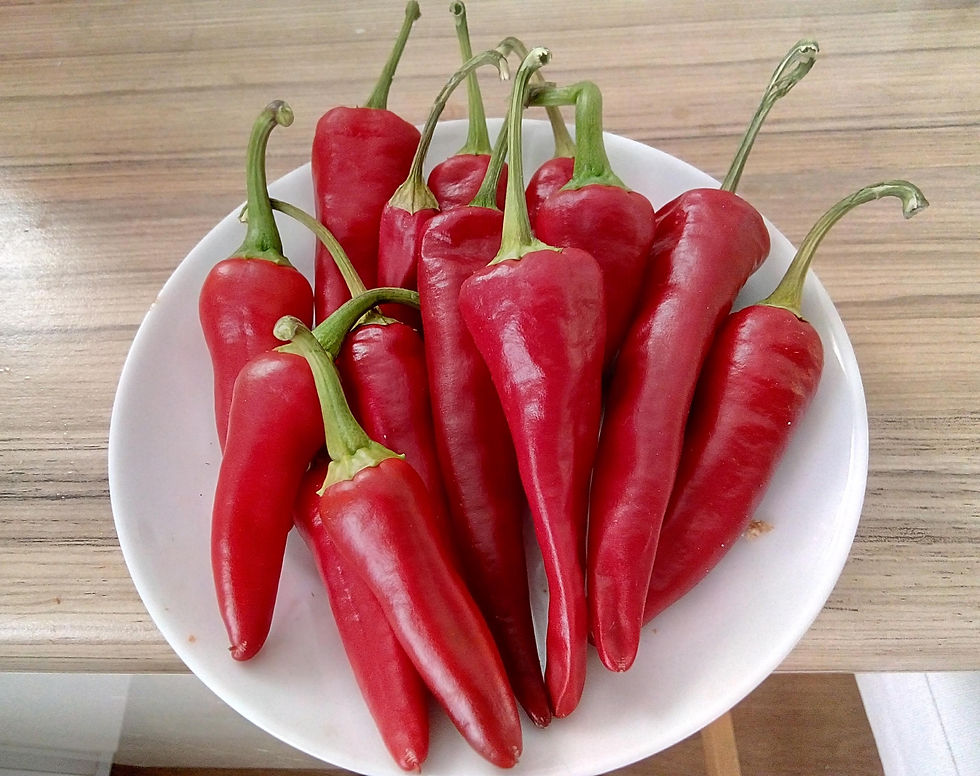
Your chillies will be ready to harvest once they have ripened to specified colour - Red, yellow, purple etc. or use green once fruits are large enough.
Final thoughts
Hopefully you too can now grow some of these interesting and useful plants which will literally spice things up, like literally...
I hope you have enjoyed reading this blog and have found it useful, interesting and informative - or boring, whatever. It is my first time writing a blog but I hope to do more on the subjects of plant propagation, growing, gardening, botany and soils science!
Comments